Intro
NUI is one of the few handy open-source libraries that allow iOS apps to be styled, much like websites through CSS. This allows for developers and designers alike to quickly make changes in a CSS file to adjust the appearance of various UI components in your app. No more dealing with the cumbersome UIAppearance and having to dig through code to make changes. This allows for the nontechnical people on your team to directly tweak and fiddle with the app to their hearts’ content, leaving us developers to concentrate on the more important aspects of the app. 😉
There was Pixate (changed trajectory and was acquired by Google), UISS (inactive), and Nimbus (feature development inactive). However, NUI is the only one that managed to stand the test of time, is actively developed, and reasonably popular (3382 stars at the time of this writing). I have used NUI in a few projects I work on and really love its power. I’m not going to lie, it is quite an investment to setup and maintain throughout your project, but really pays off long-term. In this post I cover how to get up and running with NUI.
Walkthrough
Here is the initial commit of the sample project I used in this walkthrough. You can feel free to follow along.
Getting Started
First consult the installation section in NUI’s Readme. You can install the manual way or through CocoaPods, pick your poison. If you are installing through CocoaPods you need to add pod ‘NUI’, ‘~> 0.5’ to your Podfile before hitting your terminal with a pod install.
Protip!
If CocoaPods just created a .xcworkspace file for you and spit out this bit of advice:
[!] Please close any current Xcode sessions and use `NUITestApp.xcworkspace` for this project from now on.
Close out of your project and reopen from the workspace before proceeding.
Add the following to your AppDelegate file:
#import <NUI/NUISettings.h>

// ...

- (BOOL)application:(UIApplication *)application didFinishLaunchingWithOptions:(NSDictionary *)launchOptions {
    // Override point for customization after application launch.

    [NUISettings init];

    return YES;
}
Building and running should display something like so:
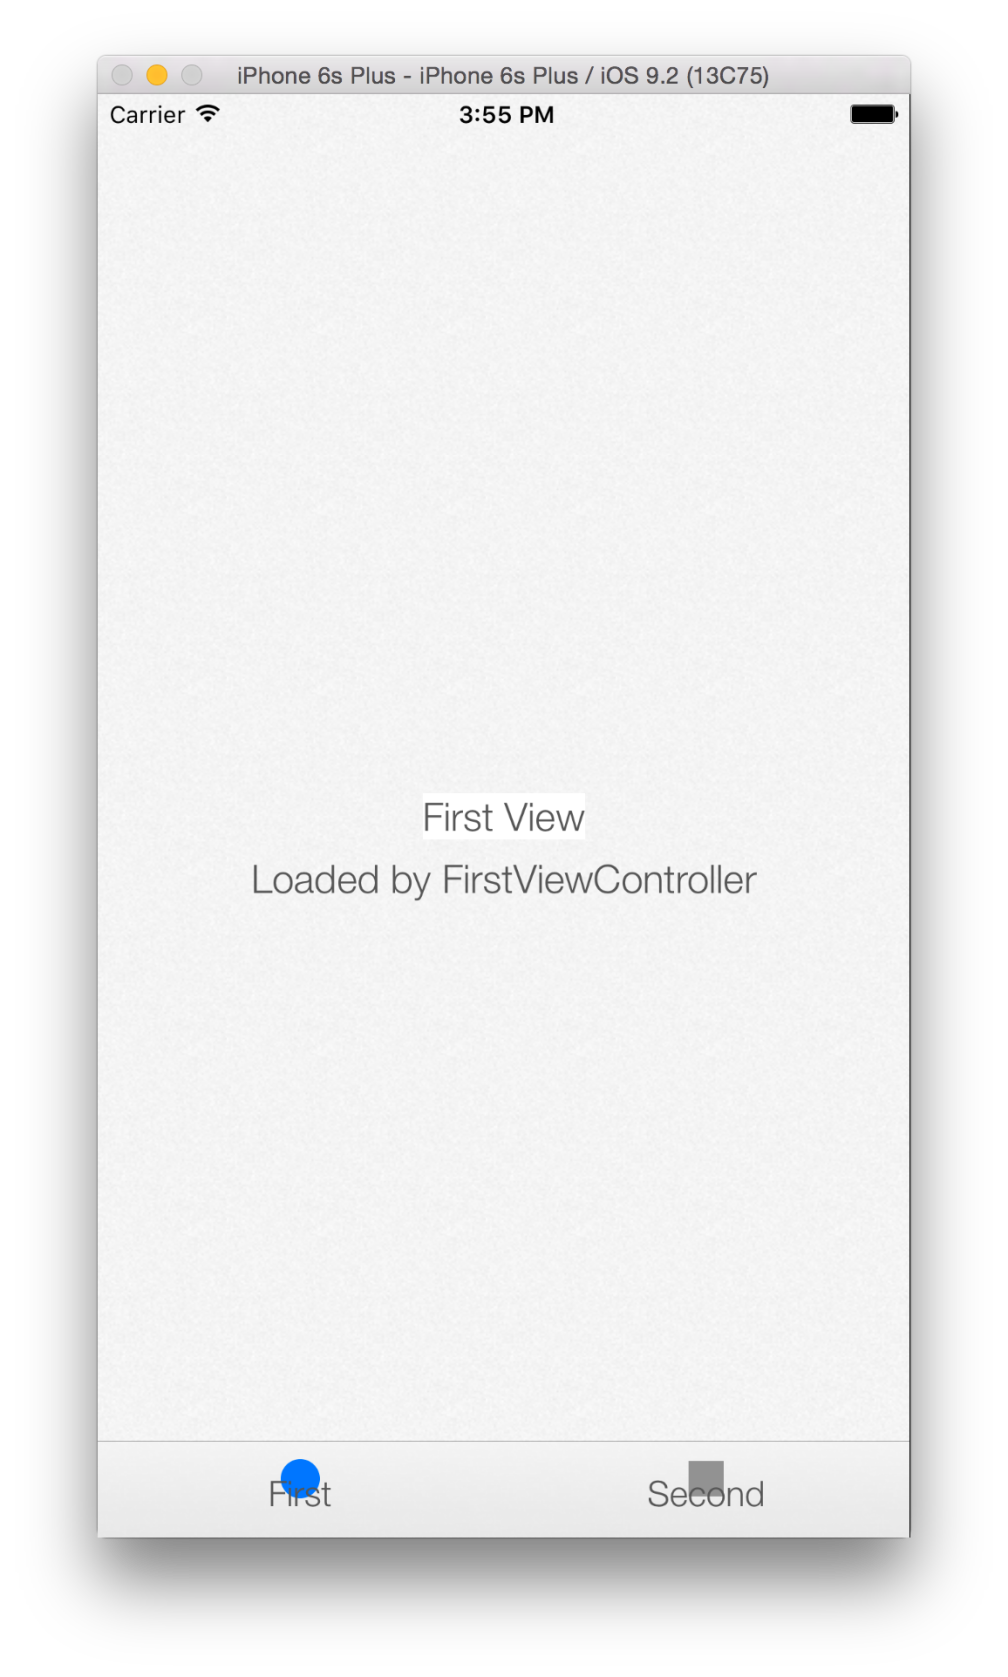
If you don’t have a problem with building an ugly looking app, you are pretty much done, but if you actually want to make something that is appealing to the eyes, read on!
Customization
If you take a look at NUI’s init method, you’ll see this:
+ (void)init
{
    [self initWithStylesheet:@"NUIStyle"];
}
It can be deduced from this that in order to use a style sheet of your own you need to call NUI’s initWithStylesheet: method. Well let’s get to it then, ey?
Create a new empty file and give it a cool, hipsteresque name like CartmanBrah.nss, or if you want to be boring like all other developers in the iOSphere you can give it a “proper” name, like MyProperlyNamedStyleSheet.nss.
Protip!
Be sure to set the extension of the file to .nss as that is what NUI expects the extension of the style file to be.
Change the NUI init method to specify the new file you created:
[NUISettings initWithStylesheet:@"CartmanBrah"];
Adding a NUI Element from a Storyboard
Let’s lay down some styles in that new file, ey? (No, I’m not Canadian, I just really like saying ‘ey’). Put something like this in your newly-created style sheet:
FirstTabBar {
    font-name: italicSystem;
    font-size: 18;
    font-color: orange;
}
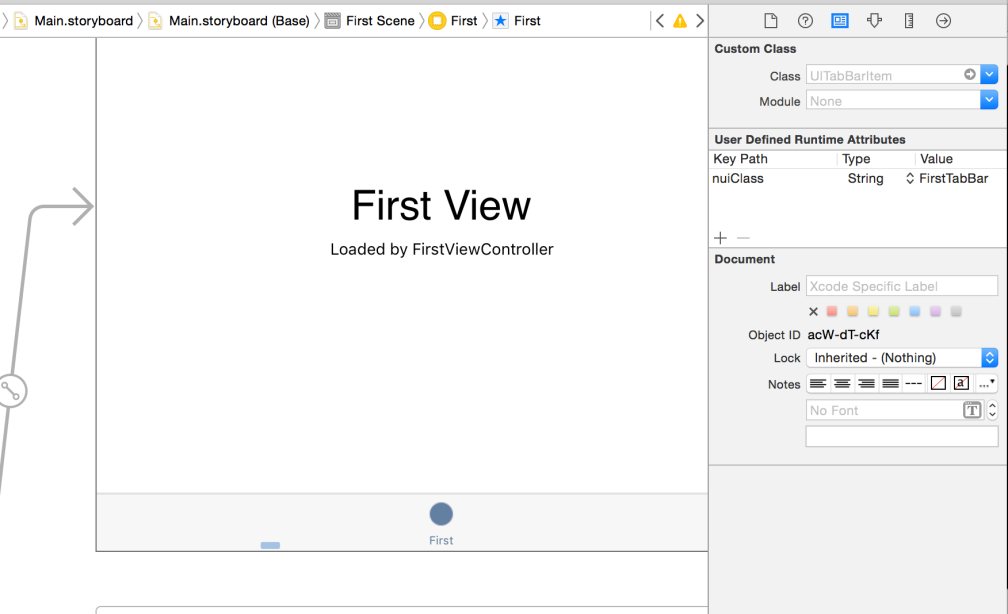
Head over to the storyboard file and add the following line to the User Defined Runtime Attributes of the first view’s UITabBarItem:
nuiClass string FirstTabBar
You should end up with something like this when finished:
Adding a NUI Element Programmatically
Let’s specify the nui class for the other tab bar item programmatically. Go back to your style sheet and add the following to it:
SecondTabBar {
    font-name: boldSystem;
    font-size: 13;
    font-color: red;
}
Head on over to SecondViewController.m and add the following to it:
#import <NUI/UITabBarItem+NUI.h>

// ...
- (void)awakeFromNib {
    [super awakeFromNib];

    self.tabBarItem.nuiClass = @"SecondTabBar";
}
Conclusion
Setting the nuiClass property of an object specifies which style object in your stylesheet the object should conform to. As seen above, this can be done via xib/storyboard or programmatically. To see which properties are supported for various objects, consult the Style Classes section of the NUI Readme. And here is the repository for the finished sample project.
Build and run the app and you should see something like so:
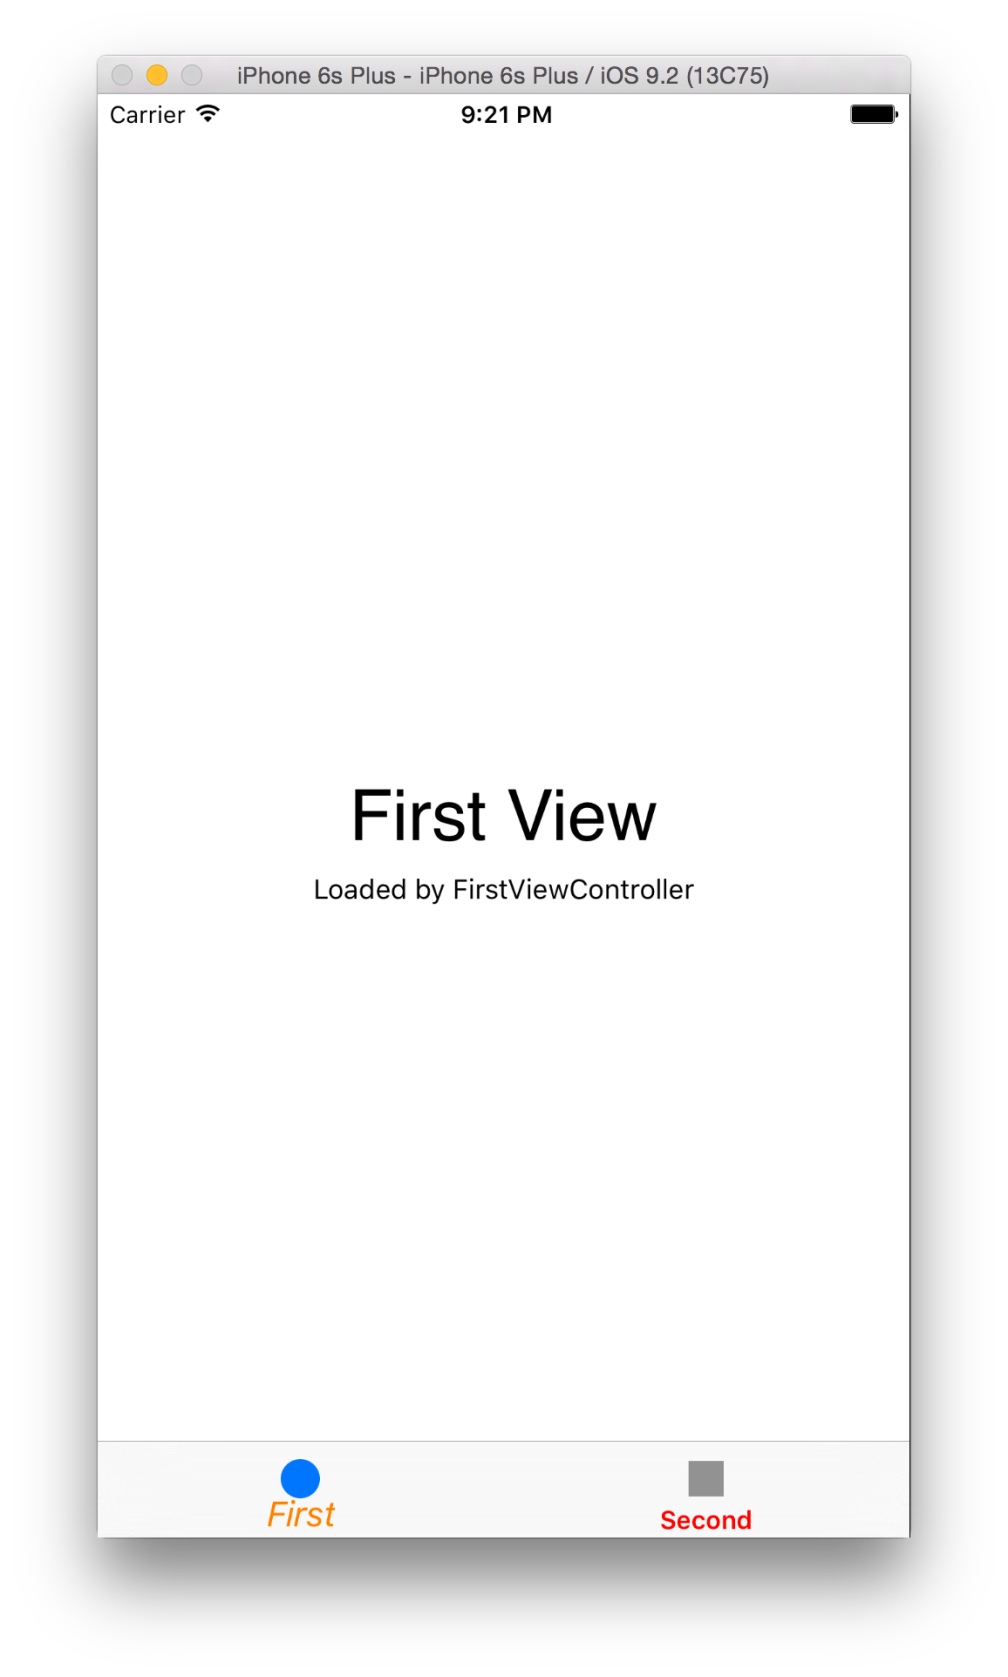
And there you have it — iOS application styling via style sheets!
